
Opening the case: why glare deserves urgent attention
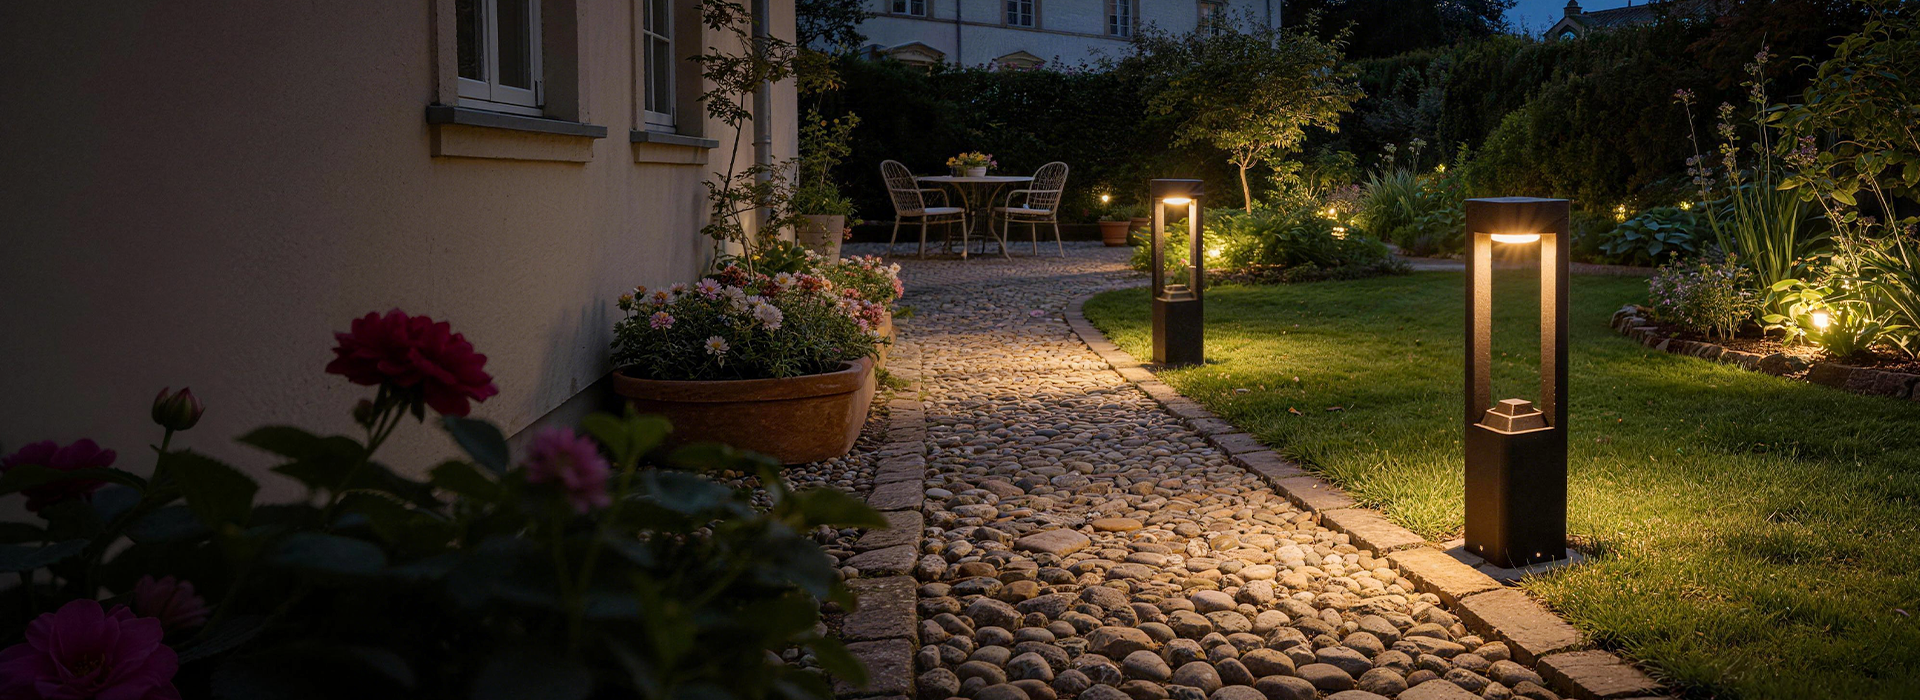
Glare from outdoor wall fixtures is more than an aesthetic nuisance — it sabotages visibility, frustrates neighbors, and undermines a design’s intent. In many retrofit and new-build scenarios the culprit is predictable: excessive lumen output aimed without proper shielding, a poor cut-off angle, or the wrong correlated color temperature (CCT). For projects that demand dignity and control, consider specifying custom outdoor lighting early in the design phase; tailored fixtures often stop problems before they begin. The stakes are real — cities that subscribe to International Dark-Sky Association principles, like Flagstaff, Arizona, show how policy and fixture choice together curb light trespass and protect nocturnal ecosystems.
Diagnosing the bottleneck: how to read the scene
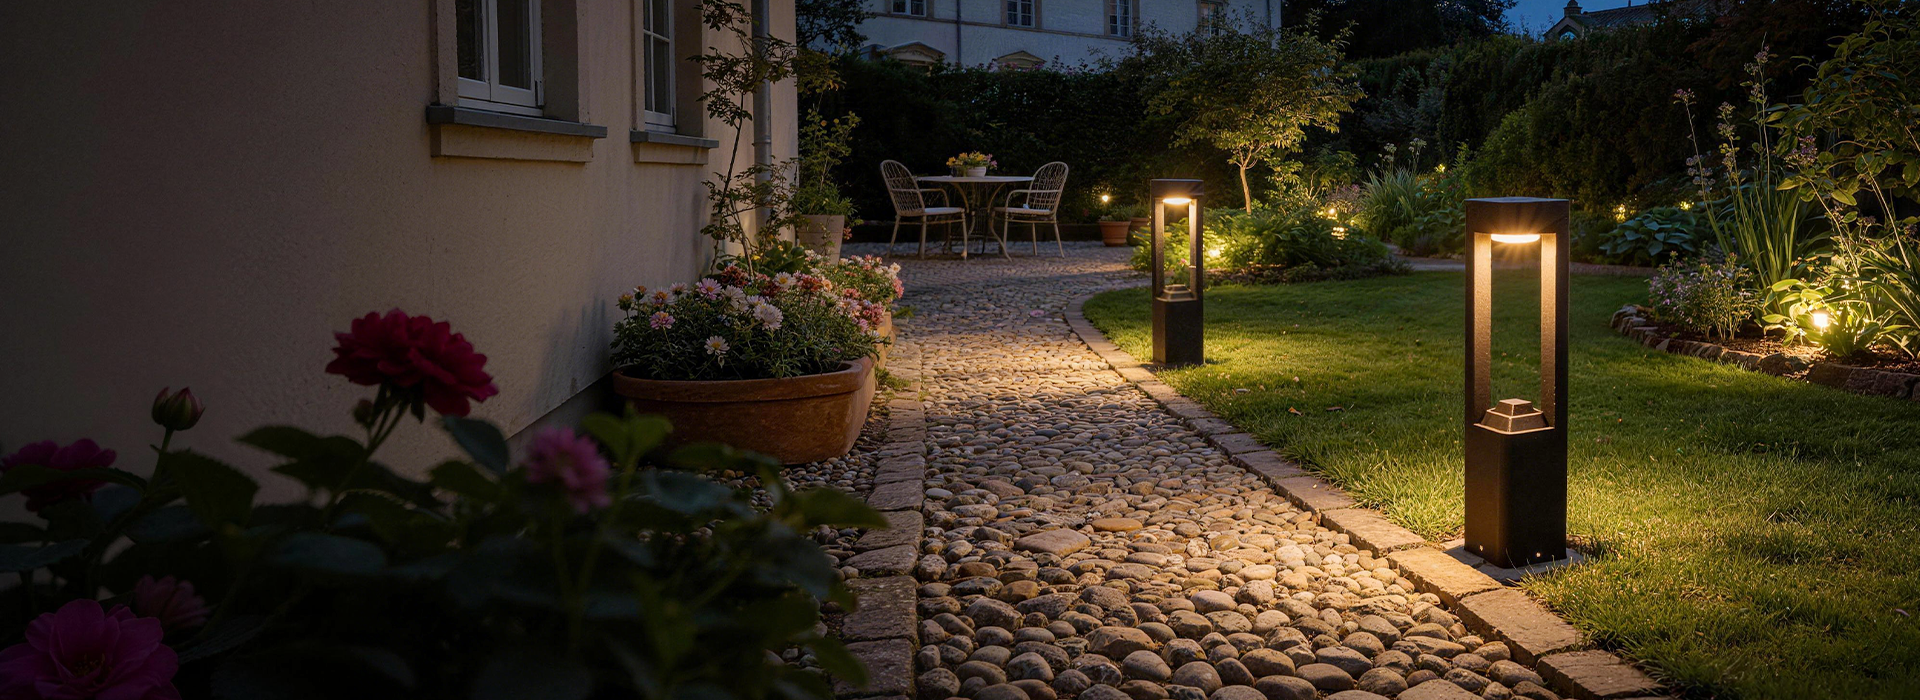
Start with a simple field audit. Walk the site after dark and note three things: where light bleeds past intended surfaces, where harsh hot spots create visual discomfort, and where uplight reaches the sky. Pair the walk with quick photometric checks — horizontal illuminance readings and simple lux maps — to quantify the problem. Often you’ll find mismatches between fixture BUG ratings and the installed orientation; that misalignment, not the fixture model itself, is the real villain.
Common causes and their telltale signs
Most architectural glare problems fall into a handful of categories: excessive lumen output, improper beam cut-off, reflective surfaces creating specular highlights, and mismatched CCT that accentuates contrast. If a wall shows scalloped bright bands, the beam angle is likely too narrow or misaligned. If residents report discomfort from a pathway light, the glare component is probably driven by insufficient shielding. These are solvable — once identified — but solutions differ by cause.
Field testing and measurement tactics
Use simple tools: a calibrated lux meter, an inclinometer, and a camera to document before-and-after conditions. Measure at occupant eye height to capture perceived glare, not just surface lux. When testing, note fixture aim in degrees and record neighboring surface reflectance — shiny finishes magnify artifacts. Also consult IES photometrics for the fixture; manufacturers’ cut sheets reveal predicted distribution patterns that should match on-site behavior.
Design and retrofit fixes that actually work
There are practical levers to pull:
- Reduce lumen output: lower the lumen package to meet target horizontal illuminance; more light rarely solves perceived darkness.
- Adjust aim and add shielding: change the cut-off angle or add full/partial shields to eliminate uplight and reduce direct glare.
- Change optics: replace narrow-beam lenses with asymmetric optics to wash walls evenly and avoid hot spots.
- Lower CCT where appropriate: 2700K–3000K often reduces contrast and perceived glare compared with cooler whites.
- Consider fixture placement: move fixtures away from sightlines or recess them into reveals to soften intensity.
Each intervention trades off cost, complexity, and appearance — but small optical changes can yield dramatic improvements.
Product selection: what to demand from your supplier
When working with an outdoor lighting manufacturer, insist on verifiable photometric files (IES or Eulumdat), clear BUG and mounting guidance, and a tested aim/installation sheet. Ask for mockups or a temporary on-site lamp to confirm visual comfort before committing to bulk purchase. If you need custom housings or internal baffling, those options are worth the upfront cost — they prevent endless field fixes.
Common mistakes teams keep repeating — and how to stop
Teams often rush to increase lumen output when tasked with improving visibility — that’s backwards. Another recurring error is trusting catalog drawings without on-site verification; spec sheets assume ideal mounting heights and backgrounds. And many overlook maintenance: dirty lenses or shifted aim after a season can resurrect glare problems. A modest maintenance schedule and commissioning checklist at handoff will save reputation and warranty costs later — remember to log aim angles and lamp types during commissioning.
Case study snapshot: a courthouse façade
At a mid-sized municipal courthouse, initial wall washers created dramatic scalloped bands that read as striated glare from the plaza. The fix combined an optic swap to an asymmetric lens, a 30% lumen reduction, and recessed mounting that hid the source. The plaza’s perceived safety improved without added energy draw — a clear win. Real projects like this underline a simple point: measured, modest changes often outperform brute-force lighting.
Advisory: three golden rules for selecting the right approach
1) Measure before you specify — use on-site lux readings and photometrics to guide decisions, not gut feeling. 2) Favor optics over brute force — choose lenses, shields, and cut-off controls before you add lumens. 3) Require manufacturer verification — demand IES files, mounting guides, and at least one field mockup to confirm the intended result.
These rules keep design purposeful and reduce costly iterations in the field. —
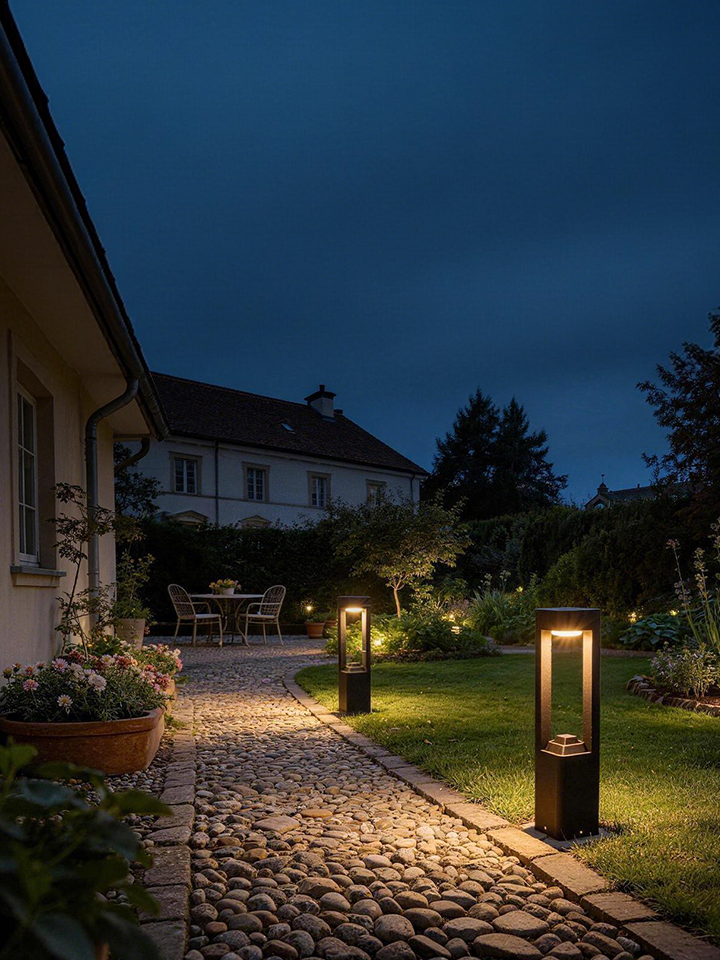
For projects that balance craft with control, trusting a partner who can deliver precise optics, reliable BUG-rated solutions, and verified photometrics is where results begin to feel effortless — Keyida. —