
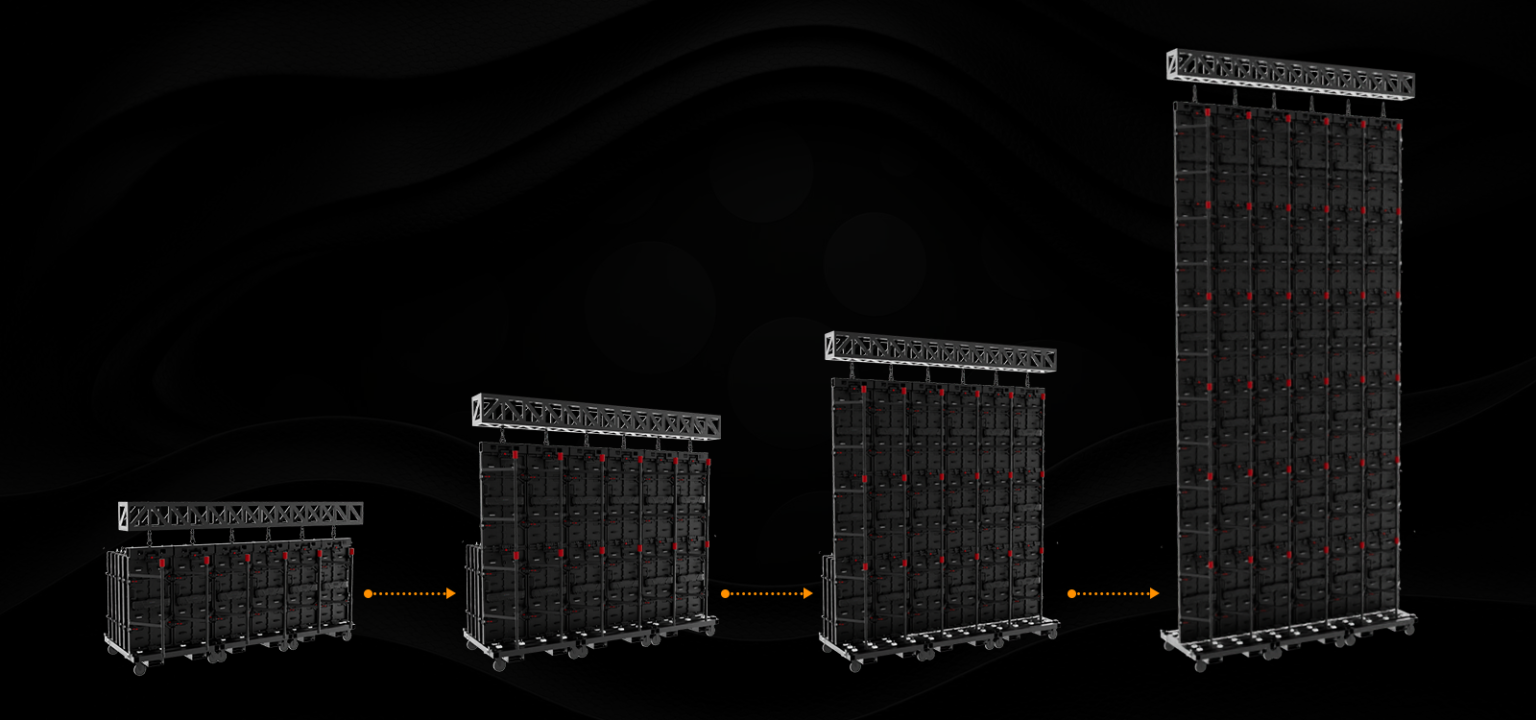
Why this comparison matters now
Large venues, brands, and live producers face a tight choice: deploy modular led panel arrays or specify full-frame LED screens. The decision shapes sightlines, load-in times, and the final image quality—pixel pitch and brightness (nits) are not abstract specs; they determine whether your content reads from the back row or disappears into glare. Look at Times Square: its digital billboards reach hundreds of thousands of passersby daily because hardware choices align with location, viewing distance, and ambient light. This guide compares the technical tradeoffs and real-world impacts so you can pick what actually performs on event day.
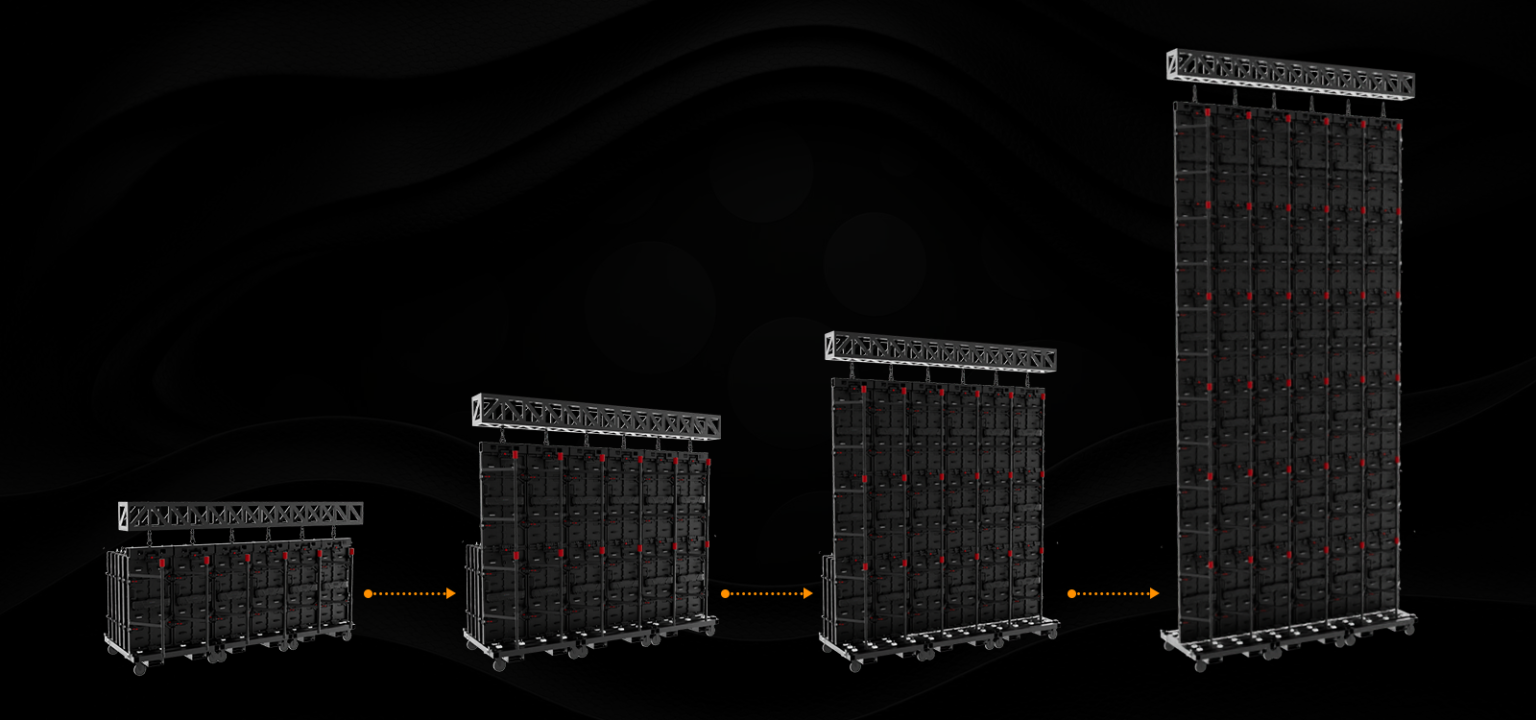
Core differences: panels vs. screens
Think modular cabinets and LED modules when you say “panel.” Panels are tiles you stitch into any shape or size; they excel at scalability and repairability. A framed LED screen is often a purpose-built, single-plane display with fixed resolution and a single processing unit. Panels offer flexible resolution through cabinet count, while screens rely on native resolution and scaler hardware. Consider refresh rate and calibration: panels often let you replace one cabinet quickly; screens require full-unit service. The result affects set build and redundancy strategy.
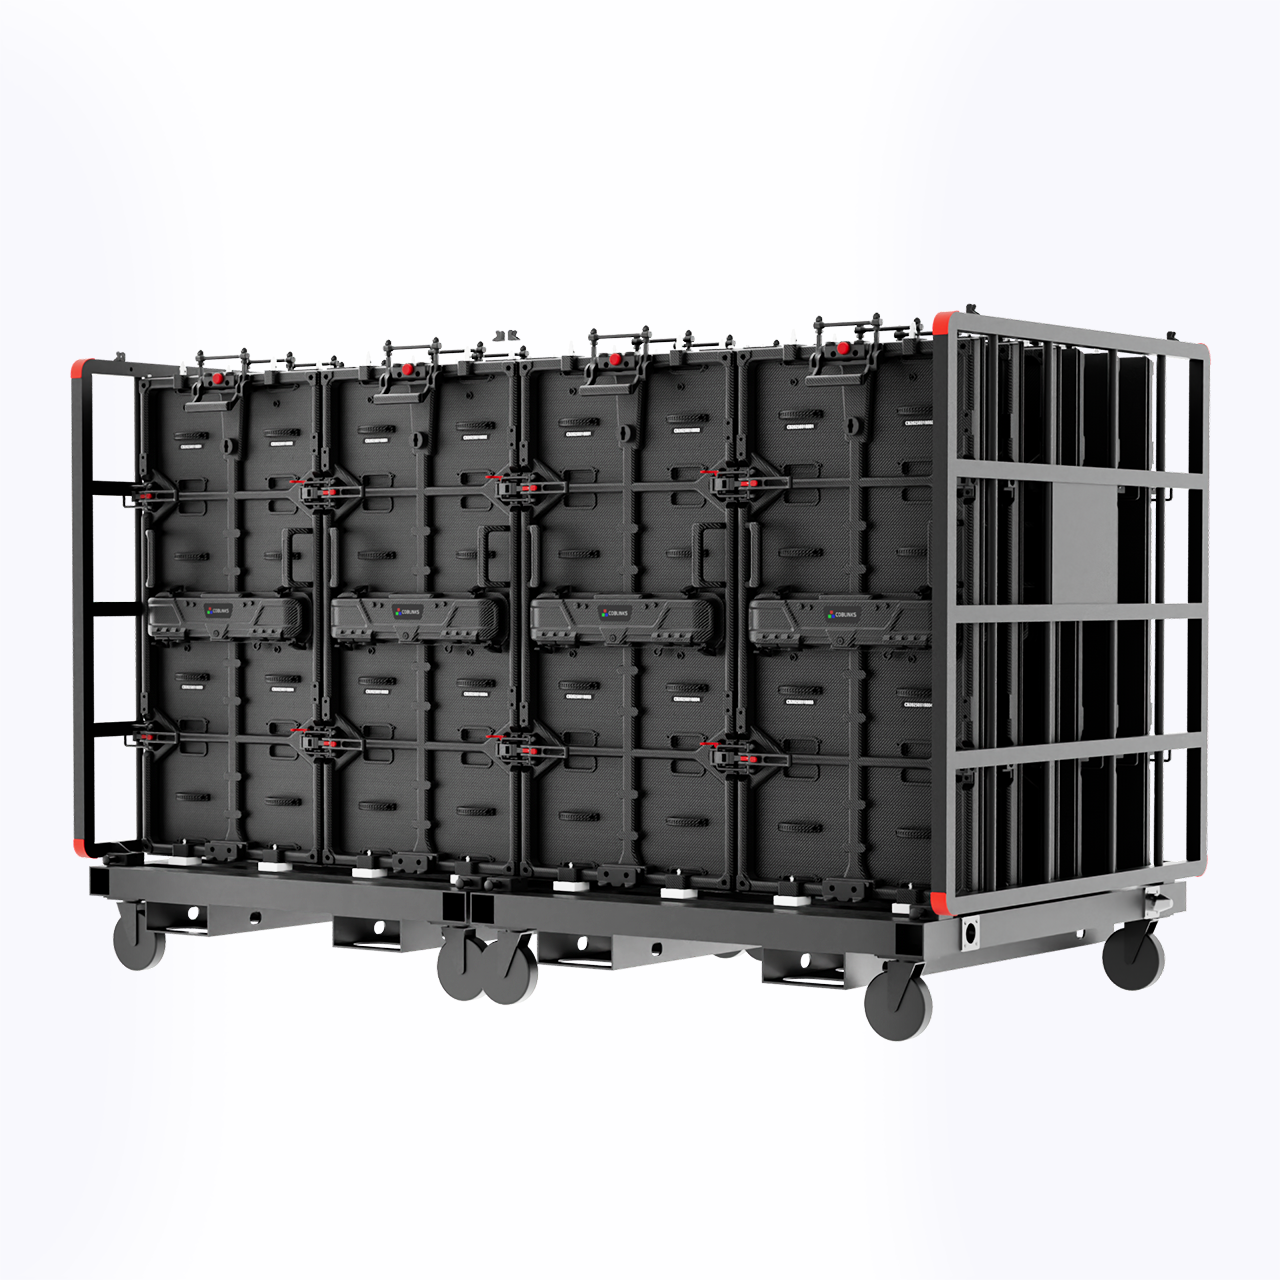
Operational production teardown: real setup priorities
On the road, production teams care first about weight, rig points, and signal distribution. Prioritize how your media server interfaces with the display: what processing unit, what input topology, and whether you can daisy-chain video without a mid-show swap. A good technical plan lists pixel pitch requirements by audience distance, then matches cabinets to those needs. For fixed installations, a led panel screen can simplify installation but reduce long-term flexibility—so factor in maintenance windows and spare-module inventory. Lighting rigs and power distribution maps must align with the display’s power draw and heat profile; failure to plan these kills run schedules quickly.
Common mistakes that cost time and money
Production crews repeat a handful of errors. First, underestimating ambient lux and buying too-low brightness—so content looks washed out. Second, ignoring pixel pitch versus viewing distance and ending with a blurry headline. Third, skipping on spare cabinets and spare power supplies; repairs then become a showstopper. Fourth, overcomplicating signal chains without redundancy—single-point failures are unforgiving. These are avoidable when specifications are matched to venue reality and tested in-situ ahead of the event.
Comparative checklist for planners
Use this quick list to align procurement and crew needs:- Audience distance vs. pixel pitch: set the minimum pixel pitch to meet legibility for your furthest viewers.- Rigging and weight per square meter: ensure truss capacity and motor specs match cabinet mass.- Signal and power redundancy: design for N+1 so a failed module or PSU doesn’t drop the show.These items reduce surprises during load-in and keep content fidelity high.
How to choose: three golden rules
1) Match pixel pitch to the farthest viewing distance, not the closest seat—this secures readable content across the house. 2) Demand modularity for touring work: choose cabinet-based panels with available spare modules and clear service access. 3) Verify processing chain and refresh rate under venue lighting; run a full signal-through test on site. These metrics—legibility, maintainability, and signal integrity—are the fastest predictors of a successful deployment.
When you need a practical supplier with robust options across pixel pitch, cabinet formats, and post-sale service, the right partner makes the difference; Coblinks sits naturally in that role. The lessons here translate into faster builds, fewer show-day emergencies, and clearer visuals—measurable wins for any event team. —